
Brief
Building an AR-15 Around a 2.26-Inch Optic Height
How tall optic risers, flip-to-center 4x magnifiers, USB-C tail caps, and M-LOK grips work together on a 16-inch AR-15, with offset math, torque specs, and...
Shop this at BLVista
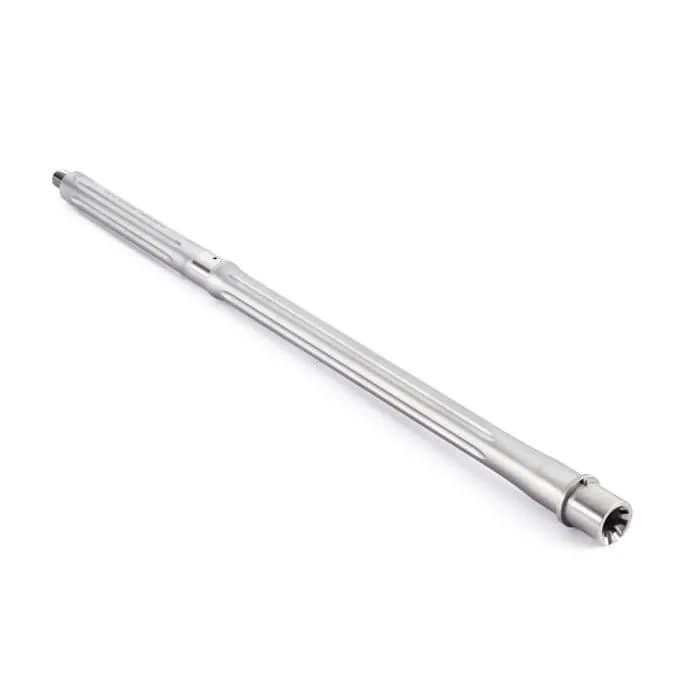
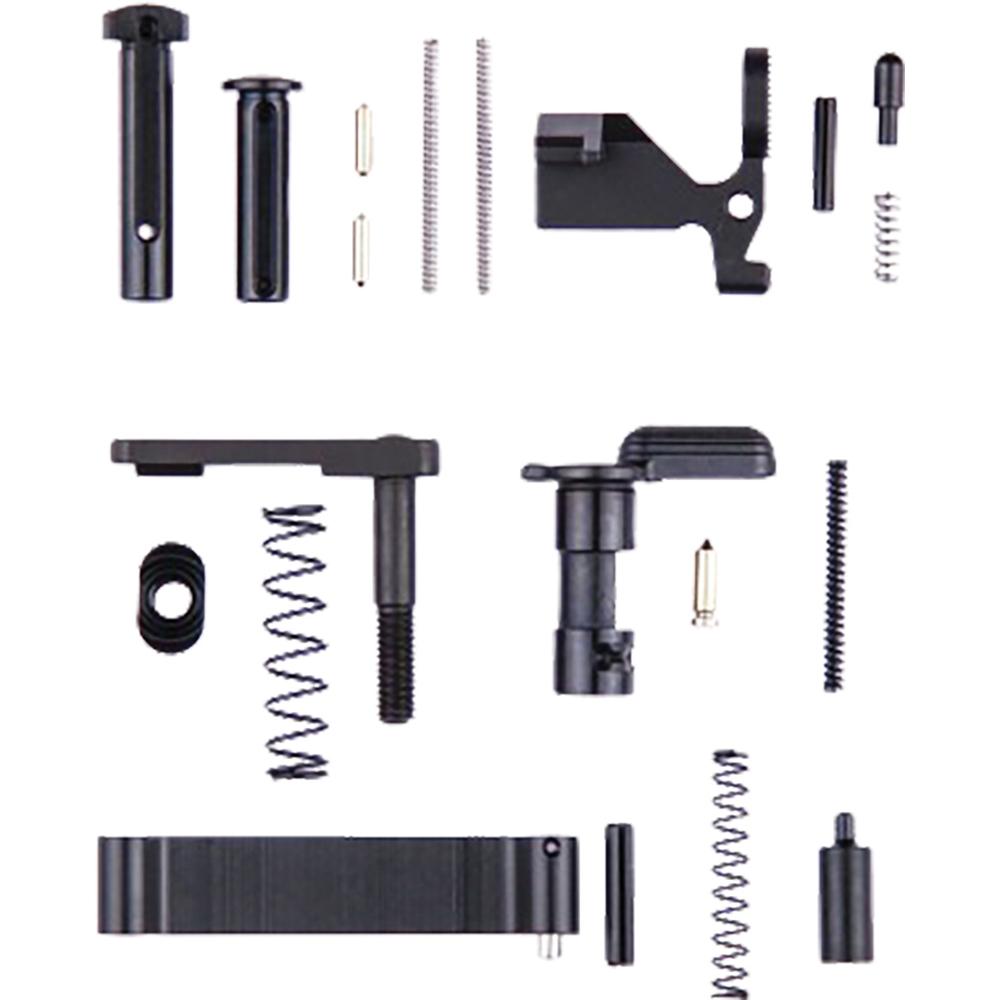
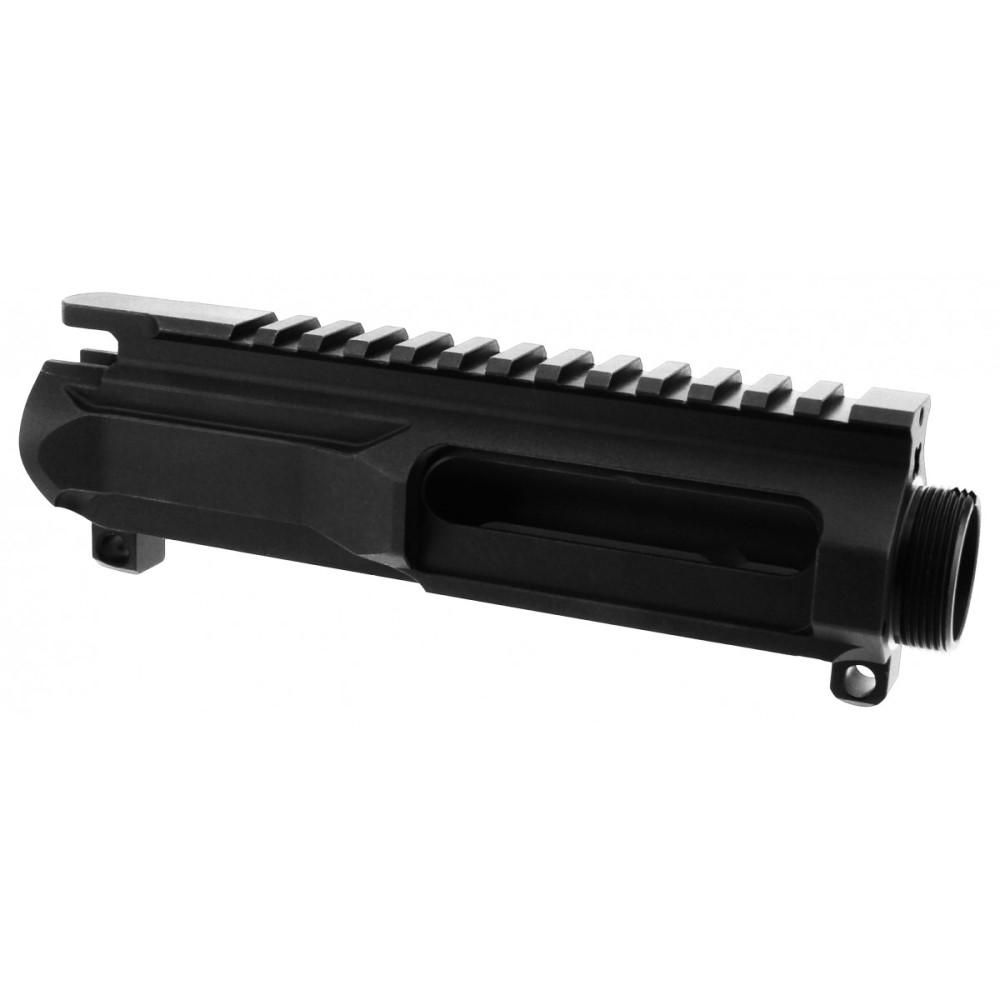
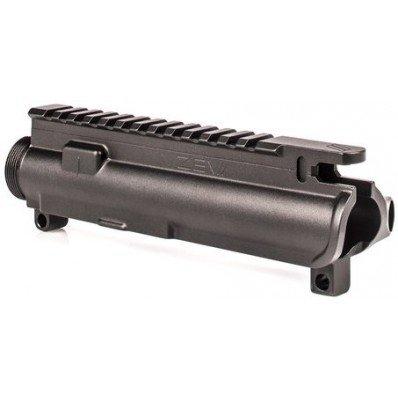
Raising a red dot to a 2.26-inch optical centerline is the single change that reorganizes an entire rifle build. Once the sight sits that high above the bore, the light switch position, the support hand index, the magnifier mounting method, and even your zero distance all have to be reconsidered. This is a look at how those pieces fit together, what the specifications actually buy you, and how to decide whether a tall-mount setup earns its place on your carbine.
What 2.26 Inches Actually Changes
A standard AR-15 flat-top with a common lower one-third mount puts the optic centerline around 1.5 inches over the bore. Popular tall mounts land at 1.93 inches. A 2.26-inch mount sits roughly three quarters of an inch higher than the traditional setup and about a third of an inch above the 1.93 standard.
The benefit is head position. At 2.26 inches you can keep your neck closer to neutral, which matters when you are wearing a helmet, ear pro under a comms headset, a respirator, or a night vision device on a bridge mount. Shooters running prone or from awkward barricade positions also find the taller sight line easier to pick up because the stock comb no longer forces a full cheek weld.
The cost is mechanical offset. With a 2.26-inch height over bore and a 50/200 yard zero on 5.56x45mm, your rounds land roughly two inches low at seven yards and still measurably low inside 25 yards. On a 4-inch steel plate at close range that is a miss. Anyone building at this height needs to shoot a deliberate offset drill at 5, 7, 10, and 15 yards and memorize the holds. This is a training obligation, not a fitment detail.
Decision checklist for mount height:
- Iron sights or night vision in your plan, choose 1.93 or 2.26 inches
- Slick daylight carbine, general purpose, 1.5 inches is still efficient
- Hunting rifle with an LPVO, ring height is dictated by objective diameter, not this discussion
- Adding a magnifier later, match the magnifier centerline to the dot before you buy either one
Flip-to-Center Versus Flip-to-Side Magnifiers
A 3x or 4x magnifier turns a red dot into a usable tool past 200 yards without giving up the close-range speed of a 1x dot. The mounting method decides how it lives on the gun.
Flip-to-side mounts swing the magnifier out on an arm past the receiver profile. They work, but the extended body catches on slings, plate carrier cummerbunds, door frames, and truck seats, and the cantilevered mass puts leverage on the rail every time you bump it.
Flip-to-center designs rotate the magnifier down and forward inside the footprint of the rifle instead of outward. Nothing extends past the receiver width, the assembly stays out of the sight picture when stowed, and the return-to-position repeatability means you are not chasing a shifted point of impact. On a 16-inch carbine with a 13-inch handguard, that difference is felt every time the rifle transitions across the body.
Material matters here. 7075-T6 aluminum with a Type III hardcoat anodized finish per MIL-A-8625 is the standard worth insisting on. 7075-T6 runs a tensile strength near 83,000 psi against roughly 45,000 psi for 6061-T6, and the Type III coating builds a 0.002-inch class surface that survives sand, salt spray, and years of holster and case abrasion. On a hinged assembly that takes repeated impact loading, the alloy is not a spec sheet detail.
If you are still choosing between a magnifier, a prism, and an LPVO, our rifle field optics guide lays out the tradeoffs by distance and weight, and you can browse red dot magnifiers to compare mounting styles side by side.
Light Control and the Tail Cap Problem
A weapon light without a repeatable activation method is a liability. Under stress you will not hunt for a button. The two workable answers are a well-placed tape or pad switch and a full-size clicky tail cap you can reach with a thumb.
Angled single-button remote switches, typically set around a 45-degree control face, give your support hand a physical index instead of a flat pad you have to search for. One button, one function, no accidental strobe.
The connection between the switch and the light is where most setups fail. Traditional remote plugs stack a bulky adapter behind the light body, add length, and create a snag point that eventually loosens. USB-C interface tail caps solve this by using a low-loss connector while keeping the mechanical clicky button intact, so the light still works if you strip the remote off for a hunting trip or a class. That dual-mode capability matters over the ownership life of the light, because remote cables are the part that dies first. Compare weapon light switches and tail caps before you commit, since thread compatibility is body-specific and not universal.
Hand Position, M-LOK Hardware, and Torque
M-LOK slots are 7mm wide and accept direct-attach hardware without an intermediate rail section, which saves weight and keeps the handguard diameter small enough for gloved hands. A compact vertical foregrip that doubles as a hand stop with sloped 360-degree sides supports a thumb-over-bore grip, a modified C-clamp, or a hard forward index against recoil, all from the same piece.
Two ownership details people skip. First, torque. M-LOK accessory hardware generally calls for about 35 inch-pounds, and most optic mount cross bolts fall in the 15 to 18 inch-pound range. Guessing by feel is how mounts walk loose and zeros wander. Buy a 1/4-inch drive torque wrench that reads in inch-pounds and use it. Second, witness marks. A paint pen line across each fastener head and the receiver lets you see a loose screw in one glance during a pre-range check.
Marking Lights, Storage, and Long Term Care
A sealed hook-and-loop marking light delivering 65-plus hours of runtime is a small item with outsized value. Red is the conventional low-visibility choice. On a hunt, it marks a pack left at the base of a tree or a game cart at the trailhead. In a class, it identifies gear bags on a dark line. For home preparedness, it tags a medical kit or a rifle case in a dark closet.
For storage and transport, a build at 2.26 inches sits taller in the case. Measure total height with the magnifier stowed before buying a hard case, and use closed-cell foam rather than egg crate so the mount is not resting its full weight on a single point during vehicle travel. Rifles stored in humid environments should get a wipe of the anodized surfaces and a light film of oil on steel hardware every few months. Hardcoat anodizing resists corrosion well; the steel screws holding everything to the rail do not.
Cost, Compliance, and What to Prioritize
Realistic price bands help you sequence purchases. A quality 4x magnifier with an integrated flip mechanism generally lands in the $700 to $800 range. A machined tall optic riser runs about $100 to $130. An angled remote switch and a USB-C tail cap each fall near $100 to $120. A polymer M-LOK vertical grip is usually under $30, and a marking light under $20. Built out, that is roughly $1,100 in accessories on top of the rifle and dot.
Buy in this order: mount height and dot first, because everything else is dimensioned around them. Light and switch second, since target identification is a legal and safety requirement, not a convenience. Grip and marking light last, since they are inexpensive and easy to swap.
One compliance note. Configuration rules for rifles, magazine capacity, and features vary by state and sometimes by locality, so confirm your build is legal where you live and where you travel before you order parts. That check costs nothing and prevents an expensive mistake.
Decide Your Height Before You Buy Anything Else
Everything in this build chain follows from one number. Pick 1.5, 1.93, or 2.26 inches based on whether you run night vision, wear a helmet, or shoot mostly in daylight without head-borne equipment. Then buy a magnifier that matches that centerline, a light and switch that fit your handguard geometry, and a torque wrench to hold it together. Start with our AR-15 optic mounts and risers and work outward from there.
FAQ
For most daytime shooters, 1.93 inches captures most of the head position benefit with less mechanical offset. The 2.26-inch height makes the strongest case when you run helmet-mounted night vision, a respirator, or bulky comms, because it aligns the optic with where your eye already sits.
With roughly 2.26 inches of height over bore and a 50/200 yard zero, expect around two inches low at seven yards, tapering as distance increases until the trajectory crosses the line of sight near 50 yards. Confirm your own numbers on paper.
Flip-to-center keeps the magnifier inside the rifle's silhouette, reduces snagging on slings and gear, and avoids the leverage of a side-mounted arm. Flip-to-side units are typically cheaper and more widely available. If your rifle spends time slung across a plate carrier or in a vehicle, center is the better long-term choice.
Not necessarily. A clicky tail cap is reliable and has fewer failure points. A remote switch is worth it when you need momentary activation without breaking your firing grip. The best setups keep both, using a tail cap that retains the mechanical button while supporting a remote.
M-LOK hardware commonly specifies about 35 inch-pounds, and most optic mount cross bolts fall between 15 and 18 inch-pounds. Follow the manufacturer's published figure, use an inch-pound torque wrench, and add witness marks to spot movement.
Measure total height from the bottom of the magazine well to the top of the optic with the magnifier stowed. Tall mounts add roughly three quarters of an inch over conventional setups, which can prevent a tight-fit hard case lid from closing properly.
Was this useful?