
Brief
Enclosed Emitter Pistol Red Dots Worth Mounting
A spec driven look at enclosed emitter pistol red dots, covering footprints, window sizes, dot MOA, run times from 17,250 to 90,000 hours, and holster fit.
Shop this at BLVista
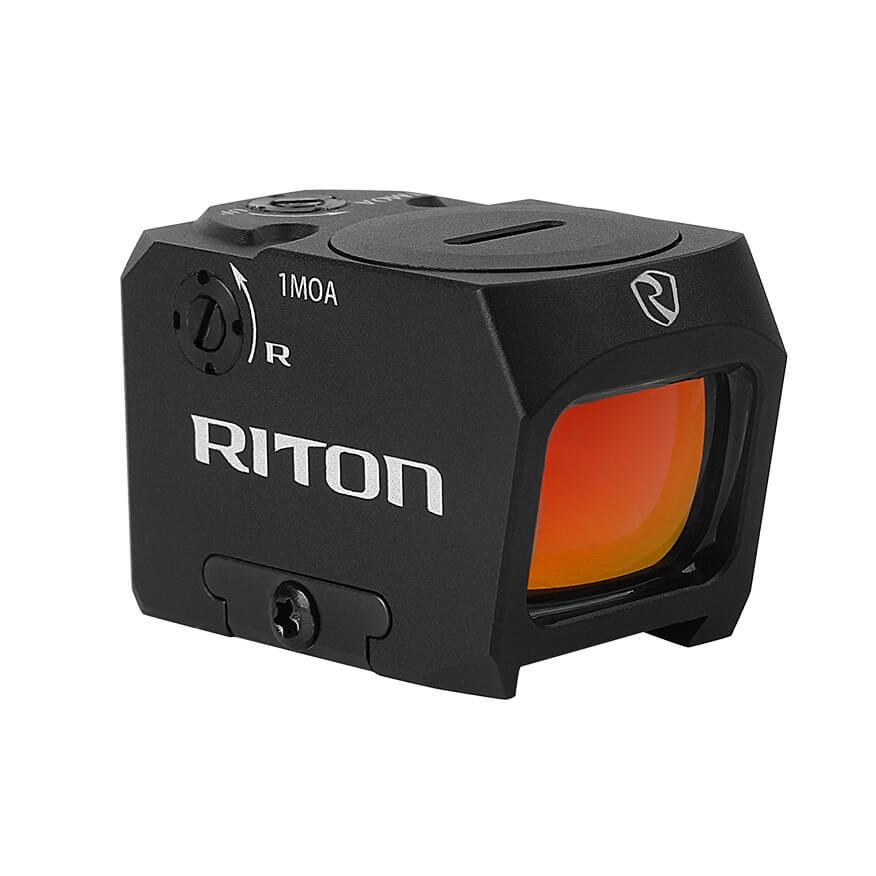
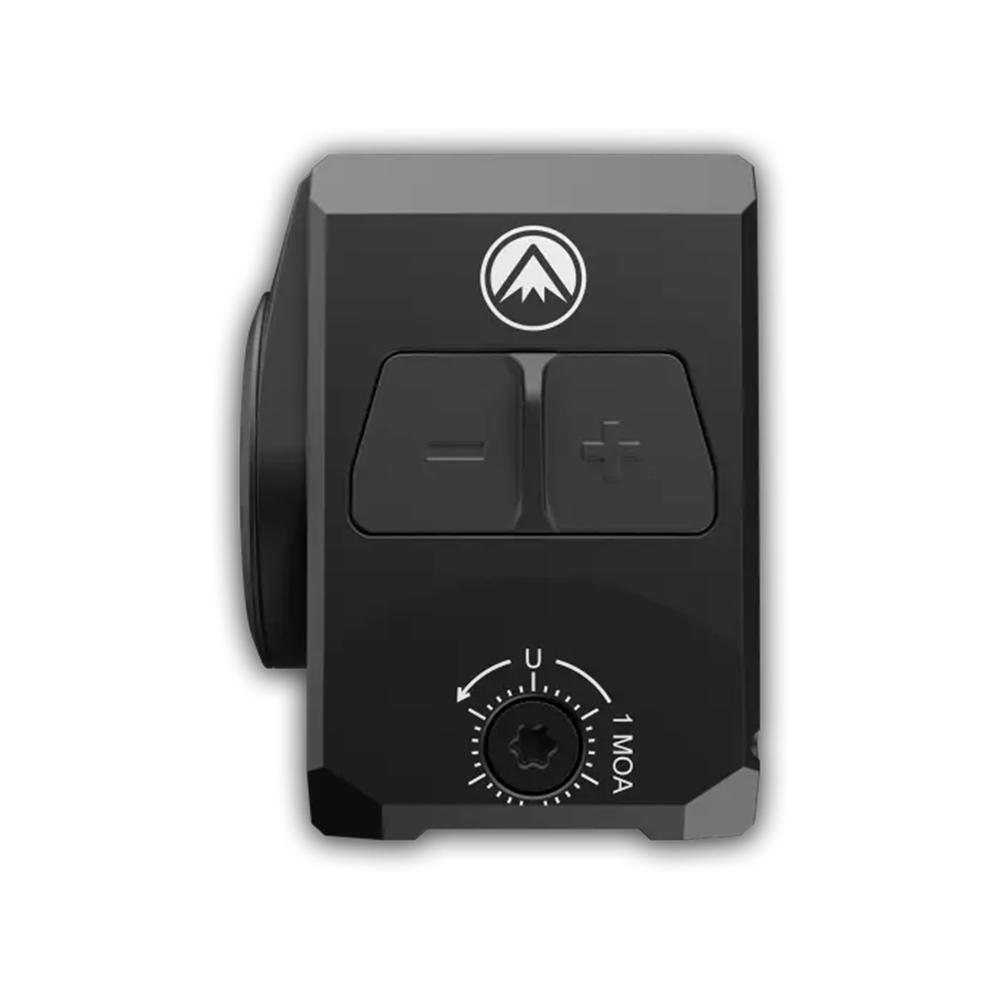
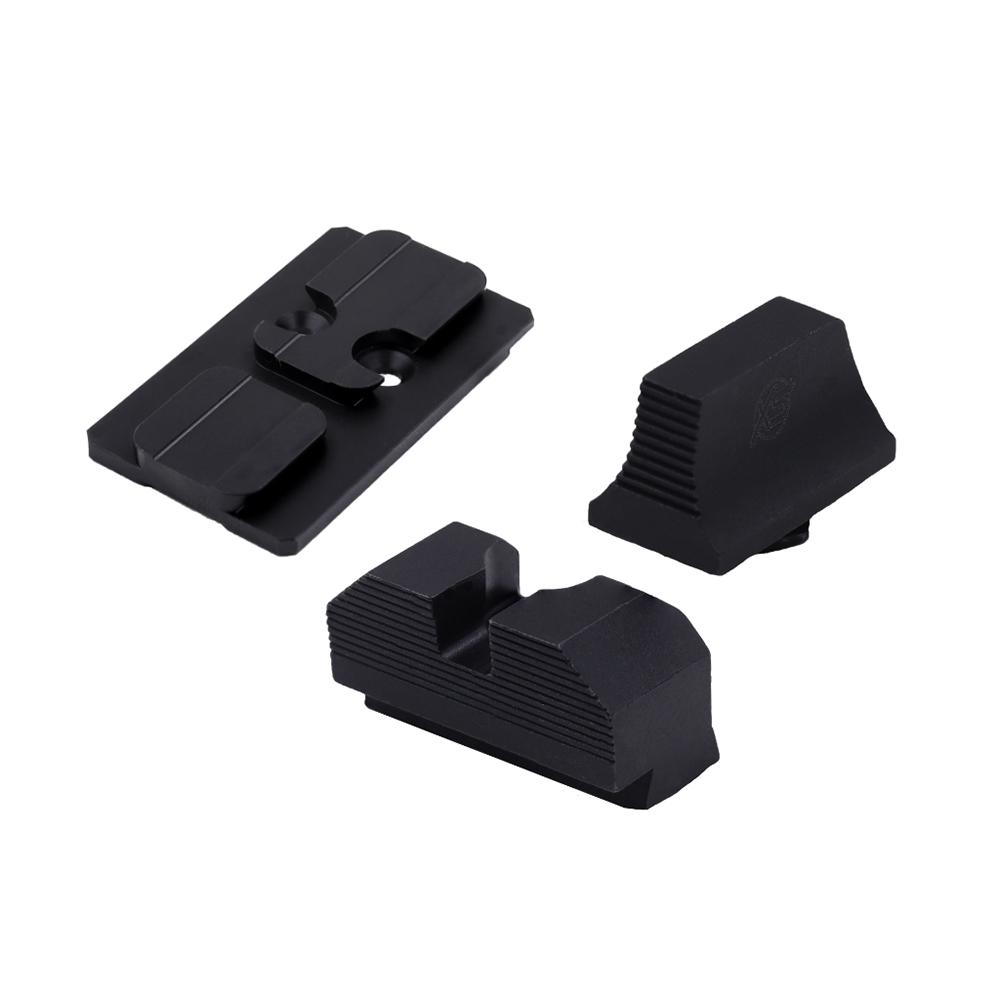
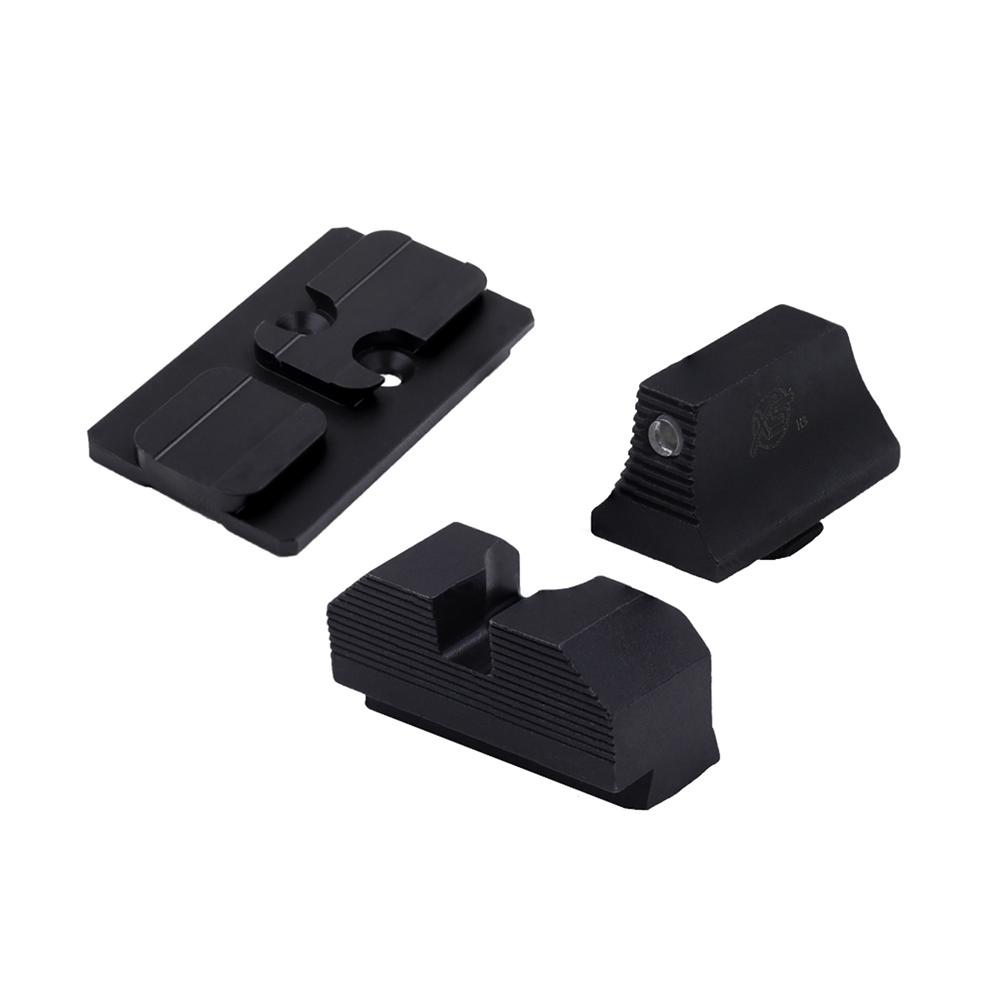
An enclosed emitter pistol optic solves one narrow problem very well. It puts glass or polymer in front of the LED so lint, rain, snow, brass shavings, and sweat cannot sit on the emitter and smear or block the dot. That is the entire value proposition. Everything else about choosing one comes down to size, mounting footprint, window geometry, control layout, and how long the optic runs before you touch it again.
The category has matured fast. Five years ago the choice was one or two duty sized boxes at premium pricing. Now there are sealed micro optics under an ounce that mount directly to a subcompact slide, and duty optics with windows approaching 0.8 inches square. The spread in price runs roughly 219 to 629 dollars depending on housing material, country of origin, and whether you are paying for a long service record.
Enclosed Versus Open Emitter, Honestly Compared
Open emitter optics expose the LED at the front of the housing, angled up at the lens. Debris that lands on the emitter blocks or distorts the dot. In practice, the failure modes that actually happen are rain drops during a fall hunt, snow during a winter carbine and pistol class, and pocket lint accumulating over months of appendix carry.
- Enclosed advantage: the emitter is sealed behind the front lens, so nothing external reaches it. Submersion ratings on the better units are serious. One Swedish built duty optic is rated to 115 feet of water and an operating band from minus 49 to 160 degrees Fahrenheit.
- Open emitter advantage: when something does go wrong, you fix it yourself. A puff of breath or a shirt tail clears water or dust in two seconds.
- The real tradeoff: enclosed optics fail less often, and when they do fail the fix is a warranty shipment, not a field clear. You are trading frequency of minor problems for severity of rare ones.
If you carry daily in a humid climate or train outdoors year round, sealed wins. If you shoot indoors at a climate controlled range and want the smallest possible package, an open emitter still makes sense. Our carry red dot buyer’s guide walks through the sizing math in more depth.
Footprint Is the First Filter, Not the Last
Pistol optics do not use Picatinny. They use a small set of bolt patterns, and the wrong pattern means an adapter plate, added height, and iron sights that no longer line up through the window.
- RMSc: the dominant micro pattern. Found on most factory cut subcompacts and slim 9mm carry guns. Two screws, tight spacing.
- RMR: the full size standard for over a decade. Wide adapter support, strong aftermarket.
- ACRO: the duty standard for enclosed boxes. Uses a dovetail style clamp interface rather than two screws through the body.
- DeltaPoint Pro: common on mid size slides and many adapter plate systems.
- Proprietary patterns: some budget optics ship with their own pattern plus RMR and MOS adapter plates in the box. That is convenient, but it means you are locked into that brand’s plate supply for the life of the gun.
Be careful with near matches. Several popular micro optics use a house pattern that is dimensionally close to RMSc but not identical. It mounts directly on some slides and needs a plate on others. Before you buy, confirm the exact slide cut on your specific pistol, not just the model family. Pin based interface systems on newer duty pistols accept multiple footprints directly to the slide without a plate, which removes the height penalty entirely.
Window Size, Weight, and What They Cost You
Window dimensions tell you more about the shooting experience than any marketing copy. A few representative numbers from current production optics:
- Micro carry class: roughly 0.58 by 0.77 inches, around 1 ounce. Fits a slim carry slide without dominating the gun.
- Compact carry class: roughly 0.8 by 0.69 inches, around 1 ounce, still on an RMSc footprint.
- Duty class: 0.79 by 0.83 up to 1.18 by 1.18 inches, 2 to 3 ounces. Fastest dot pickup, worst concealment.
- Small duty class: 0.59 by 0.59 inches at 2 ounces. Compact view in a very tough housing.
Two ounces on the slide is not trivial. It changes slide velocity slightly, and on very light recoil loads with an undersprung gun it can contribute to short stroking. If you run 115 grain 9mm range ammo through a compact pistol with a heavy duty optic, verify function with your actual carry load before trusting it. A 124 or 147 grain defensive load cycles differently than budget 115 grain practice ammunition.
Reticle Selection and Zero Distance
Dot sizes across this category run roughly 2, 3, 3.25, 3.3, 3.5, and 6 MOA. At 25 yards, a 2 MOA dot covers about half an inch of target and a 6 MOA dot covers about 1.5 inches. Multi reticle optics let you switch between a bare dot and a dot inside a 32 MOA circle, which speeds acquisition at close range while preserving precision.
Zero distance deserves thought rather than habit. A 15 yard zero is the most common default for defensive pistols and keeps you within roughly an inch of point of aim from muzzle contact out to 25 yards with typical 9mm loads. A 25 yard zero flattens the far end and raises impacts slightly at intermediate distance. A 7 yard zero suits shooters who expect every shot inside a room. Pick based on the distances you actually shoot, then confirm on paper with the ammunition you carry.
Run Time, Power, and Maintenance Reality
Advertised battery life is measured at a mid brightness setting, not maximum, and it varies with temperature. Published figures currently span roughly 17,250 hours on the low end to 90,000 hours at brightness level four on the high end, with several duty optics in the 50,000 to 75,000 hour band. In days, 50,000 hours is about 5.7 years of continuous illumination.
None of that changes the maintenance rule. Replace the cell once a year on a fixed date you will remember, and write the date on a small piece of tape inside your safe. Solar assisted models shift illumination to the panel when ambient light is sufficient, which extends life further and, in strong daylight, will run the reticle without a cell installed at all.
Other maintenance items that matter over a five year ownership window:
- Use blue threadlocker on mounting screws and retorque at the manufacturer specification. Some optics publish inch pound values; at least one duty model uses a hex key and printed angle gauge instead.
- Check screw tension every 500 to 1,000 rounds. Optic screws back out before anything else fails.
- Clean the front and rear lenses with a microfiber cloth only. Solvent overspray from slide cleaning will haze coatings over time.
- Side loading cells let you swap power without removing the optic and losing zero. Top loading designs add height but keep the body profile narrow.
Controls, Gloves, and Cold Weather
Button design separates duty optics from range optics. Large blocky buttons on the top or full length pads on both sides can be found and pressed with gloves on in the dark. Small flush buttons require you to look at the optic while you adjust. If you hunt in cold weather or train in winter, that difference is worth real money.
Brightness setting count is a similar tradeoff. Twelve daylight settings give fine control but require more taps to get from stored setting to usable brightness. Six daylight settings get you to a working level in one or two presses. For a defensive optic, fewer and coarser is usually better. Night vision settings, typically two to four, only matter if you actually own an image intensifier.
A Four Question Selection Checklist
- What is the slide cut? Confirm the exact pattern on your pistol. If it needs a plate, accept the added height and plan for taller suppressor height iron sights.
- Carry, duty, or both? A carry sized optic works fine on a nightstand gun. A 2 ounce duty box on a subcompact makes concealment and holster selection harder.
- What is the environment? Humid, dusty, or freezing conditions justify the sealed premium and a metal housing. Indoor range use does not.
- What does the warranty path look like? Enclosed failures go back to the factory. Turnaround time and whether you own a backup sighting system matter more than the printed warranty length.
Holsters, Storage, and Transport
Mounting an optic changes your holster requirements. Any kydex rig must be optic cut, and the cut has to clear the specific housing height, not just the general category. A duty box with a top mounted power compartment can be a quarter inch taller than a flush micro and will bind in a holster cut for the smaller unit. Check our concealed carry readiness guide for how optic height interacts with belt position and cant.
For storage, keep the optic on a dry, moderate temperature shelf and avoid sealed cases with trapped moisture. Modular optics that convert between open and enclosed with a removable shroud are particularly sensitive here. If you seal humid air inside the housing, you will get internal fogging on the first cold morning. Assemble in a dry, climate controlled space.
For travel, treat the optic as a zero critical component. A hard case with foam that supports the slide rather than pressing on the optic body prevents the knocks that shift point of impact. Confirm zero after any flight or long vehicle trip before you count on the gun.
Deciding What to Mount
Start with the footprint your pistol already accepts, filter by whether the gun will be carried or kept for home defense, then weigh window size against concealment. Buy the sealed optic if you carry outdoors, train in weather, or simply want fewer variables in the system. Once you have a shortlist, compare enclosed emitter pistol red dots against the specification points above, and pick up an optic cut holster at the same time so the gun is usable the day the sight arrives. If you are still deciding between sealed and open designs, browse the broader pistol red dot selection before committing.
FAQ
If you carry daily or train outdoors, yes. Enclosed housings keep lint, sweat, rain, and snow off the LED, the most common cause of a degraded dot on open emitter optics. Expect roughly 219 to 629 dollars depending on housing material and origin.
Check your slide cut specifically. RMSc is standard on slim subcompacts, RMR on full size slides, ACRO on duty oriented enclosed optics, and DeltaPoint Pro on many mid size guns. Some house patterns are close to RMSc but not identical, so confirm direct fit before buying.
Once a year on a fixed calendar date regardless of advertised run time. Published figures range from about 17,250 hours to 90,000 hours at mid brightness, but cold temperatures and high brightness settings cut those numbers substantially.
A 2 MOA dot covers about half an inch at 25 yards and favors precision. A 6 MOA dot is faster under stress at close range. Dots around 3 to 3.5 MOA split the difference and are the most common duty choice.
Only if the holster is optic cut for that specific housing height. Duty optics with top mounted power compartments sit taller than flush micro optics and can bind in a holster cut for a smaller sight.
It can. Adding 2 to 3 ounces to the slide slightly reduces slide velocity. On lightly sprung compact pistols running 115 grain practice ammunition, verify function with your actual carry load, typically 124 or 147 grain.
Fifteen yards is the most common default and keeps you close to point of aim from contact distance out to about 25 yards with standard 9mm loads. Choose 7 yards for room distance work or 25 yards if you shoot longer.
Was this useful?