
Brief
EOTech OGL-C Laser Aiming Module Buyer Breakdown
EOTech OGL-C specs and buying analysis: 515nm green and 830nm IR co-aligned lasers, 30 to 105 MRAD VCSEL illuminator, 8 oz, one CR123 for 9 hours, $2,199 MSRP.
Shop this at BLVista
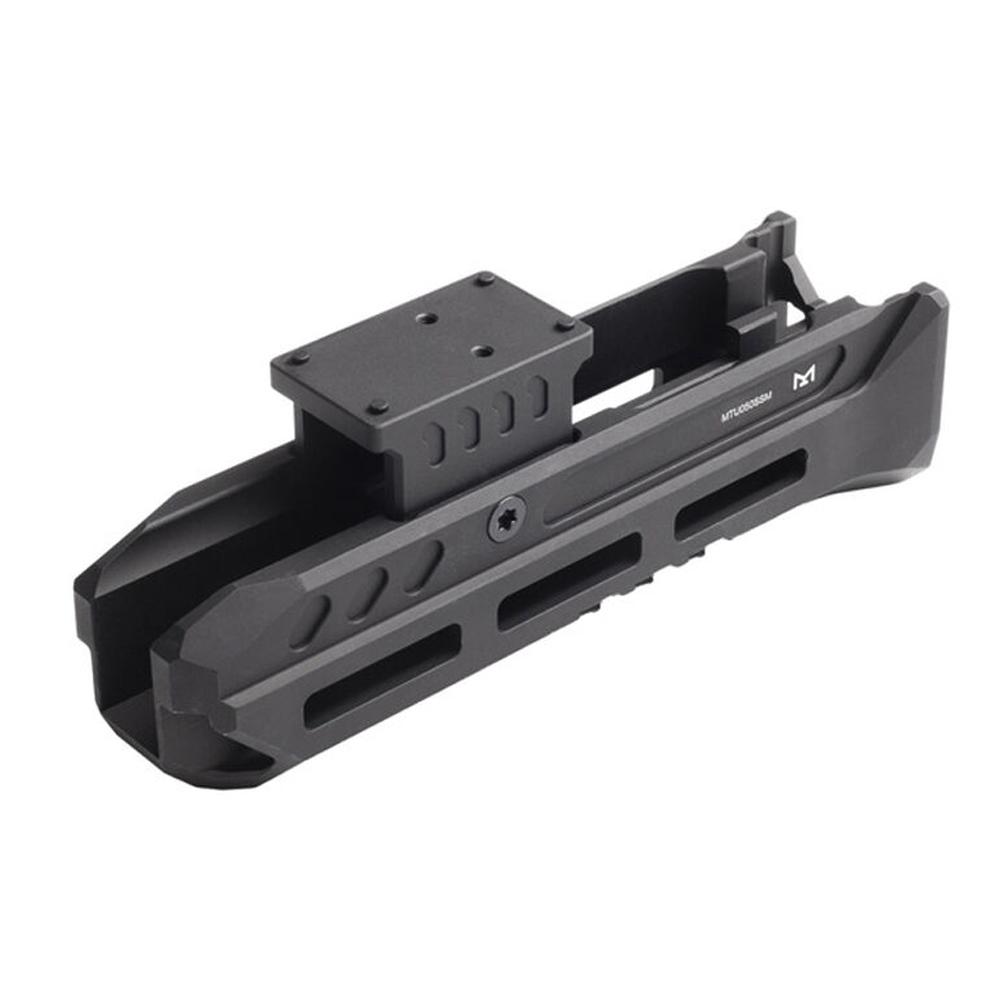
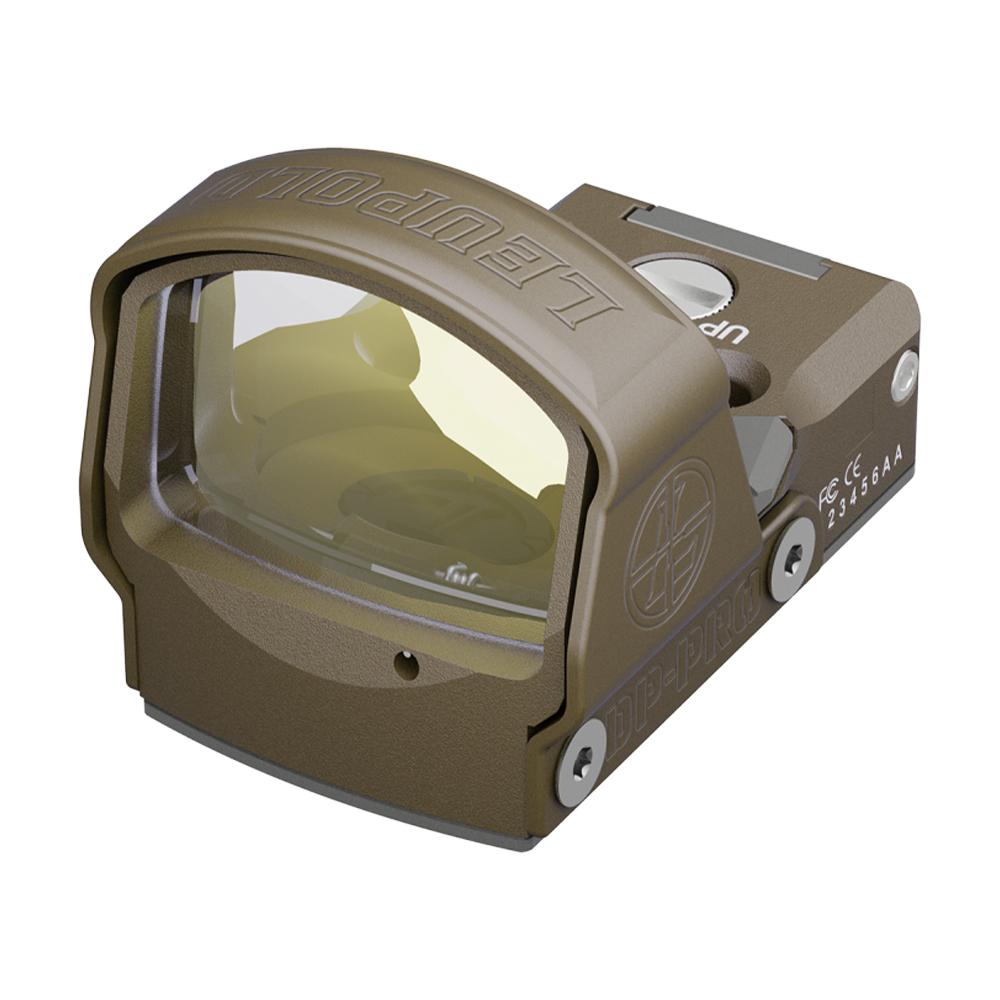
Laser aiming modules have lived in an odd space for civilian shooters. The units that get talked about most on training forums were built to military output levels, which kept them off the commercial shelf. The EOTech OGL-C changes that arithmetic. It is the eye-safe, commercial-power version of the On-Gun Laser platform that had been restricted to military and law enforcement use since 2023, and it carries a $2,199 MSRP in black or tan. That price puts it in direct conversation with mid-tier thermal and quality night vision, so it deserves a hard look at what the hardware actually delivers.
The Specification Sheet That Matters
- Weight: 8 oz with one CR123 installed
- Dimensions: 4.1 x 2.3 x 1.5 inches
- Housing: machined aluminum
- Visible laser: 515nm green
- IR laser: 830nm
- Illuminator: VCSEL infrared, variable from roughly 30 MRAD to 105 MRAD
- Runtime: up to 9 hours on a single CR123
- Remote port: Crane-style, accepts standard tape switches
- MSRP: $2,199
Eight ounces on a 4.1 inch footprint is the number that drives most of the rest of the decision. On a 16 inch carbine with a 13 inch handguard, that mass sits far enough forward to change how the rifle settles into a supported position. Add a weapon light at 4 to 6 oz, a tape switch, and a magnified optic, and you are looking at a build where every accessory needs to justify its ounces. The OGL-C is competitive with the general weight class of the AN/PEQ-15 style modules most shooters have handled, so it will not feel foreign on a rifle already set up for a laser.
Why Co-Aligned Lasers Change Your Zero Routine
The single most useful design decision here is that the 515nm green visible laser and the 830nm IR laser share the same windage and elevation adjustment. That is not a convenience feature. It is a workflow feature.
On a two-emitter module with independent adjustment, you zero the visible laser in daylight, then zero the IR laser separately under night vision, and you maintain two zeros that can drift apart over a season of use. With co-alignment, you can confirm a daylight zero on a 25 or 50 yard target using the green dot, and that correction carries directly to the infrared emitter. For a hunter who gets one afternoon to verify gear before a hog trip, or a student showing up to a low-light class with limited pre-class range access, that is hours of hassle removed.
Green at 515nm also reads better to the human eye than the older 630 to 650nm red modules under bright ambient light. It will not compete with the sun at 100 yards, but for indoor confirmation, dusk work, and short-range verification it is materially easier to see.
The Illuminator: Detentless Spot to Flood
The VCSEL illuminator runs on a sliding lever with no detents, sweeping continuously from roughly 30 MRAD to 105 MRAD. Convert that to something usable: 30 MRAD is about 1.7 degrees of beam spread, and 105 MRAD is about 6 degrees. In field terms, the tight end throws a concentrated column for identifying movement in a treeline or across a field at distance, and the wide end washes a room-sized area or a hedgerow at close range.
The detentless design is the tradeoff worth understanding. Continuous adjustment means you can dial the exact spread the situation calls for, which is genuinely better for scanning. It also means you cannot find a known setting by feel in the dark. Shooters who value a repeatable index position may prefer clicked illuminator settings. Shooters who scan across varied terrain will prefer this. Neither answer is wrong, but you should know which shooter you are before you spend $2,199.
VCSEL emitters are worth noting for a different reason. Compared to older LED illuminators, the beam quality tends to be more even, with less of the hot-center, dim-edge behavior that makes a wide flood setting hard to read through Gen 3 tubes.
Controls, Lockouts, and the Remote Port
The rear-mounted mode selector uses clicked positions for visible, IR, and IR plus illuminator, each with high and low output. The detail that matters for institutional buyers and cautious individuals is the stop screws, which let you mechanically lock out the high-power positions. That is a real feature for a household where a rifle is shared, for a training environment with mixed experience levels, or simply for a user who wants to prevent an accidental high-output activation indoors.
The Crane-style remote port takes any standard tape switch, which is the correct choice. It means you are not locked into a proprietary cable, and you can run a dual-function pad that drives both the laser and a white light from one pressure surface. If you already own tape switches for other builds, they will work here.
How to Decide If This Belongs on Your Rifle
Run a short checklist before committing:
- Do you own night vision? An 830nm IR laser and an IR illuminator are invisible without it. If you do not have a tube or a digital device, you are paying $2,199 for a green laser and a lot of dormant capability. Buy the vision first.
- Do you have rail real estate? A 4.1 x 2.3 inch module needs a clear stretch of 1913 Picatinny rail at 12 o’clock or 1 o’clock, plus room for a light and a switch. Measure before you order.
- What is your realistic engagement distance? For depredation hunting at 50 to 150 yards, the tight 30 MRAD illuminator setting earns its keep. For property defense inside 25 yards, a good white light may serve you better.
- Can you accept a single CR123 as the power plan? Nine hours is a full night plus margin, but it is one cell. Carry spares in your kit.
- Does your state allow laser and IR devices on your intended use case? Rules on night hunting and aiming devices vary by state and by species, so verify locally before the season.
Ownership, Durability, and Storage
Machined aluminum housings survive recoil and transport well, but laser modules fail in predictable ways: fouled emitter windows, corroded contacts, and stripped adjustment turrets. Three habits extend service life materially.
First, clean the emitter windows with a lens pen or microfiber, never a shirt tail. Carbon and dust on a laser window scatters the beam and makes the illuminator look weaker than it is. Second, remove the CR123 for any storage beyond a few weeks. Leaked cells destroy contacts, and a $2,199 module deserves better than corrosion in a safe. Third, index your mount. Mark the rail slot position with a paint pen so that if the unit comes off for cleaning or travel, it goes back in the same place and your zero survives.
For transport, treat it like an optic. A padded case slot, not loose in a range bag with magazines. Thermal cycling from a cold truck bed to a warm cabin will fog interior optics on cheap devices, so let it acclimate before scanning.
If you are building the rifle around it, our rifle field optics guide covers how magnified optics and passive aiming interact with a laser setup, and you can compare laser aiming modules and weapon light tape switches to complete the switching plan. Everything else lives in the BLVista store.
What to Do Next
Decide in this order: night vision first, then laser module, then light, then switching. A shooter who buys the OGL-C before owning a viewing device has spent $2,199 on partial capability. A shooter who already runs tubes and has been zeroing two emitters separately has a concrete reason to move, because co-aligned adjustment removes the most annoying part of maintaining a night-capable rifle. Measure your rail, weigh your current build, and confirm your state’s rules on aiming devices for your intended use before you buy.
FAQ
MSRP is $2,199, available in black or tan. That covers a dual-emitter co-aligned laser plus a variable VCSEL infrared illuminator in one 8 oz housing.
It is the commercial-power, eye-safe version of a platform limited to military and law enforcement use since 2023. Output is scaled for civilian legality while the control layout, co-aligned emitters, and Crane-style remote port remain.
For the 830nm IR laser and the infrared illuminator, yes, since those are invisible to the naked eye. The 515nm green visible laser works without any viewing device.
One CR123 cell, rated for up to 9 hours of runtime. Carry spares and remove the cell during long-term storage to protect the contacts.
The unit uses a Crane-style remote port that accepts standard tape switches, including dual-function pads that run both a laser and a white light from one pressure surface.
Continuously from roughly 30 MRAD to 105 MRAD, about 1.7 to 6 degrees of beam spread. The lever has no detents, so adjustment is smooth rather than indexed.
No. Both emitters share windage and elevation adjustment, so a daylight zero confirmed with the green laser carries over to the infrared laser used under night vision.
The body measures 4.1 x 2.3 x 1.5 inches, so plan for a clear stretch of Picatinny rail plus clearance for a light and switch routing.
Was this useful?